How to Tape Walls For Painting
Last Updated: July 25, 2012
Taping walls for a paint project seems fairly simple, but if done incorrectly, it can result in frustration and unsightly paint edges. There isn't a perfect formula for applying painters tape, but here we want to provide you with several pointers and tips that will help the taping process to go smoothly.
- Have a good amount of tape to begin with (3M's blue core is recommended), and get a few different widths of tape.
- Never apply tape to paint that has not completely cured. Wait 1-2 days after painting before applying tape to the freshly painted surface.
- Tape in strips that are 2-4 feet so that you can handle them easily (the longer the strips of tape you use, the more likely the tape will be to bend or crinkle)
- Overlap the paint strips so that the paint doesn't leak through, and so the tape is easier to remove.
- While taping, use one finger to lightly secure the tape into place; after applying the tape, rub your finger over the tape to make sure seal is tight where the paint will meet it.
- When taping corners, cut the tape at the corner at a 45 degree angle on one side and butt the tape up to the corner, on the other side of the corner, cut the tape at the opposite 45 degree angle, but overlap the tape with about 1 to 2 inches overlap.
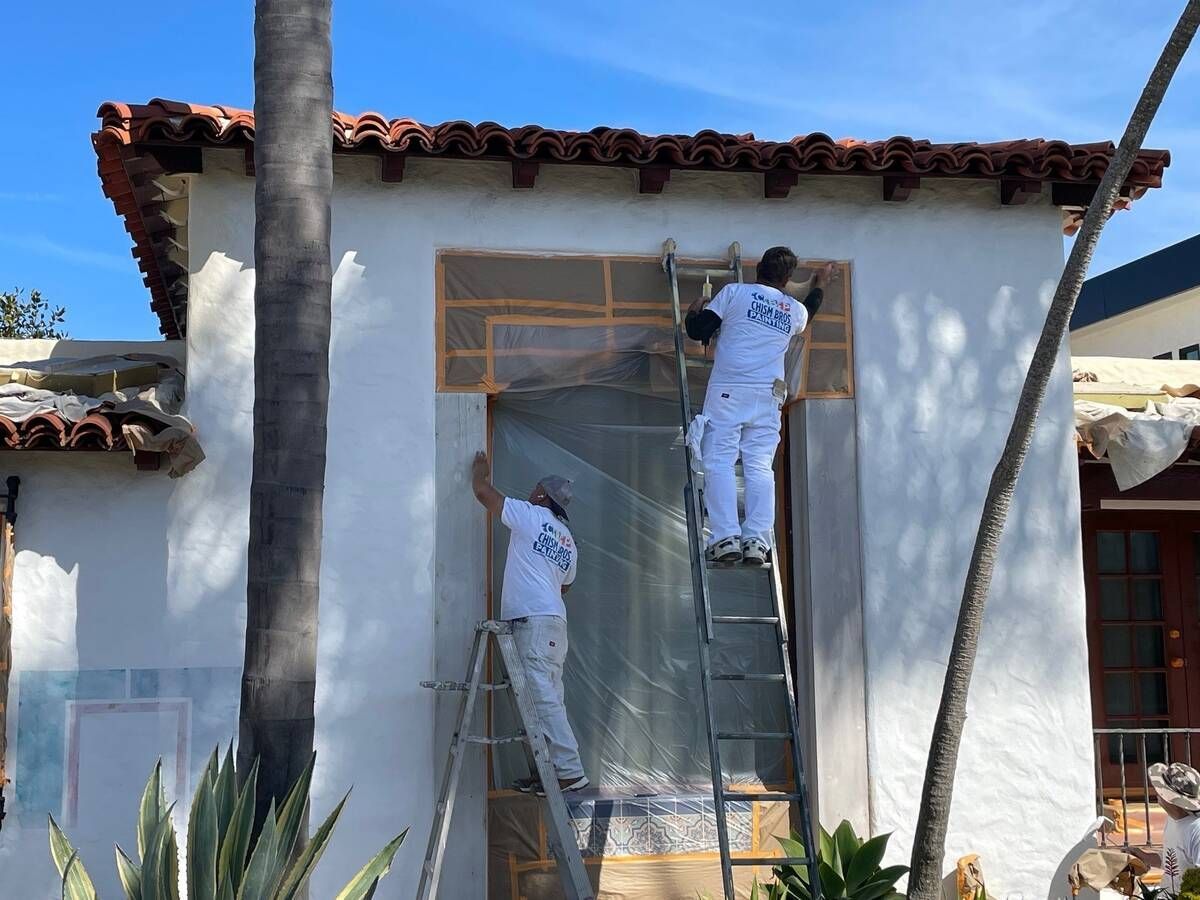
- Make sure you tape all the door and window trim, corners, baseboards, mouldings, and similar surfaces.
After following these steps, you are ready to paint! Be sure to remove the tape before the paint has completely dried (somewhere between 30 minutes and 5 hours after painting). When painting multiple coats, we suggest reapplying new tape for every additional coat.
Chism Brothers provides professional and high-quality painting services to the majority of San Diego, including, La Jolla, Mission Valley, Coronado and other areas. Call us at 858-454-3850 if you have questions or would like a free estimate.
photo credit: real simple
Tell us about your project
Tell Us About Your Project
Contact us today to schedule a visit from one of our estimators! We’ll come to your home and provide a detailed estimate.
(858) 454-3850