Exterior Repairs to Make Before Painting an El Cajon Home
Last Updated: July 30, 2026
Before painting or finishing exterior updates, El Cajon homeowners should repair stucco damage, deteriorated wood, failed caulking, moisture problems, and landscaping or irrigation issues that could affect the finished work.
Exterior painting is often one of the final steps in a home update, not the first. If damaged stucco, soft wood, open gaps, or irrigation problems are ignored, the new paint may look good briefly but fail sooner or need rework.
Homes in El Cajon may deal with strong sun exposure, dry exterior surfaces, stucco wear, wood trim damage, and landscaping or irrigation close to the home. Before painting begins, it helps to understand which repairs should come first so the finished project looks cleaner and lasts longer.
Why Repairs Should Come Before Exterior Painting
Paint can protect and refresh a home, but it cannot fix damaged materials underneath. If the surface is cracked, soft, loose, damp, or unstable, finish coats may not bond well or may only hide the issue temporarily.
Repairs should come first because they create a stable surface for paint, reduce early peeling or cracking, prevent touch-ups after the project is finished, protect wood and stucco, and help homeowners avoid paying for the same work twice.
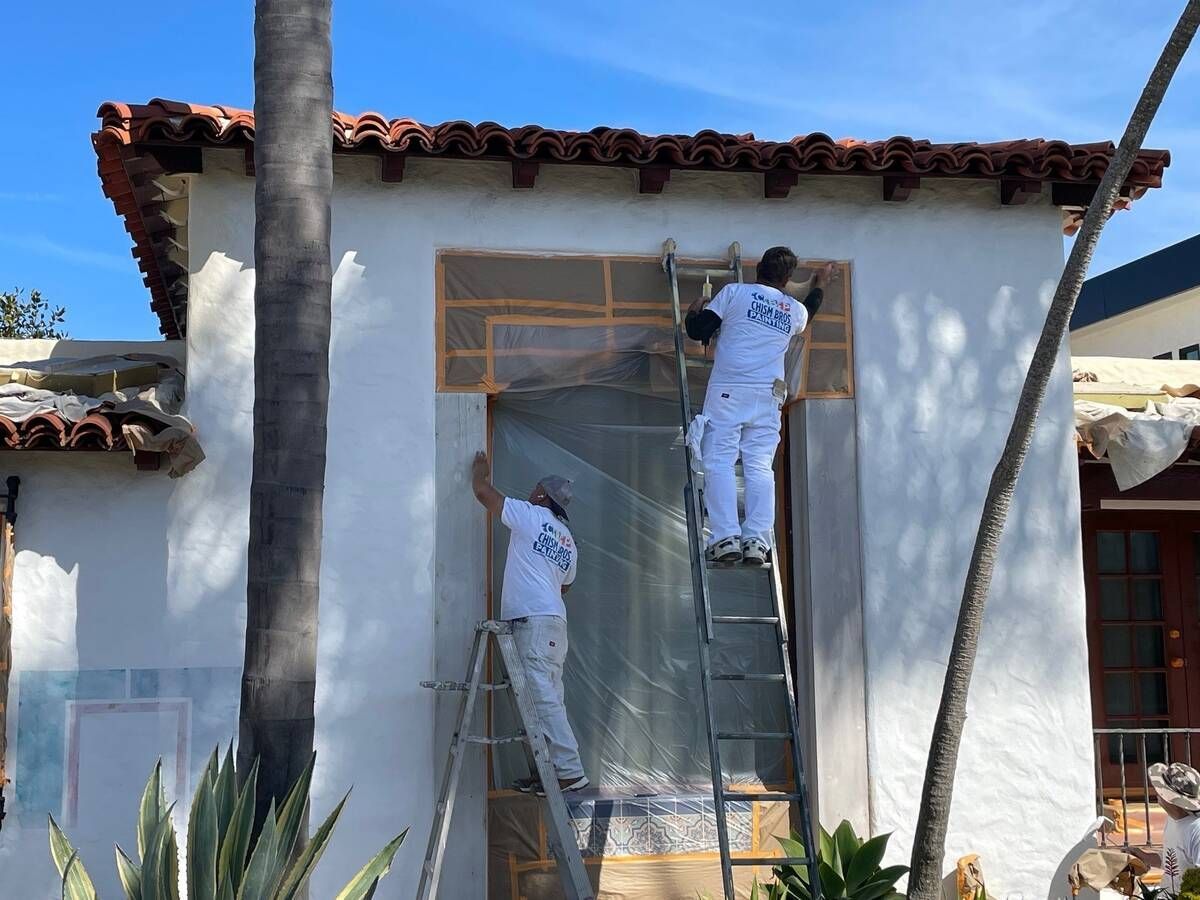
A good exterior update starts with surface evaluation, then repairs, then prep, and finally paint or finish work. That order helps the finished project look better and reduces the chance of problems showing through later.
Start With Stucco Cracks and Damaged Areas
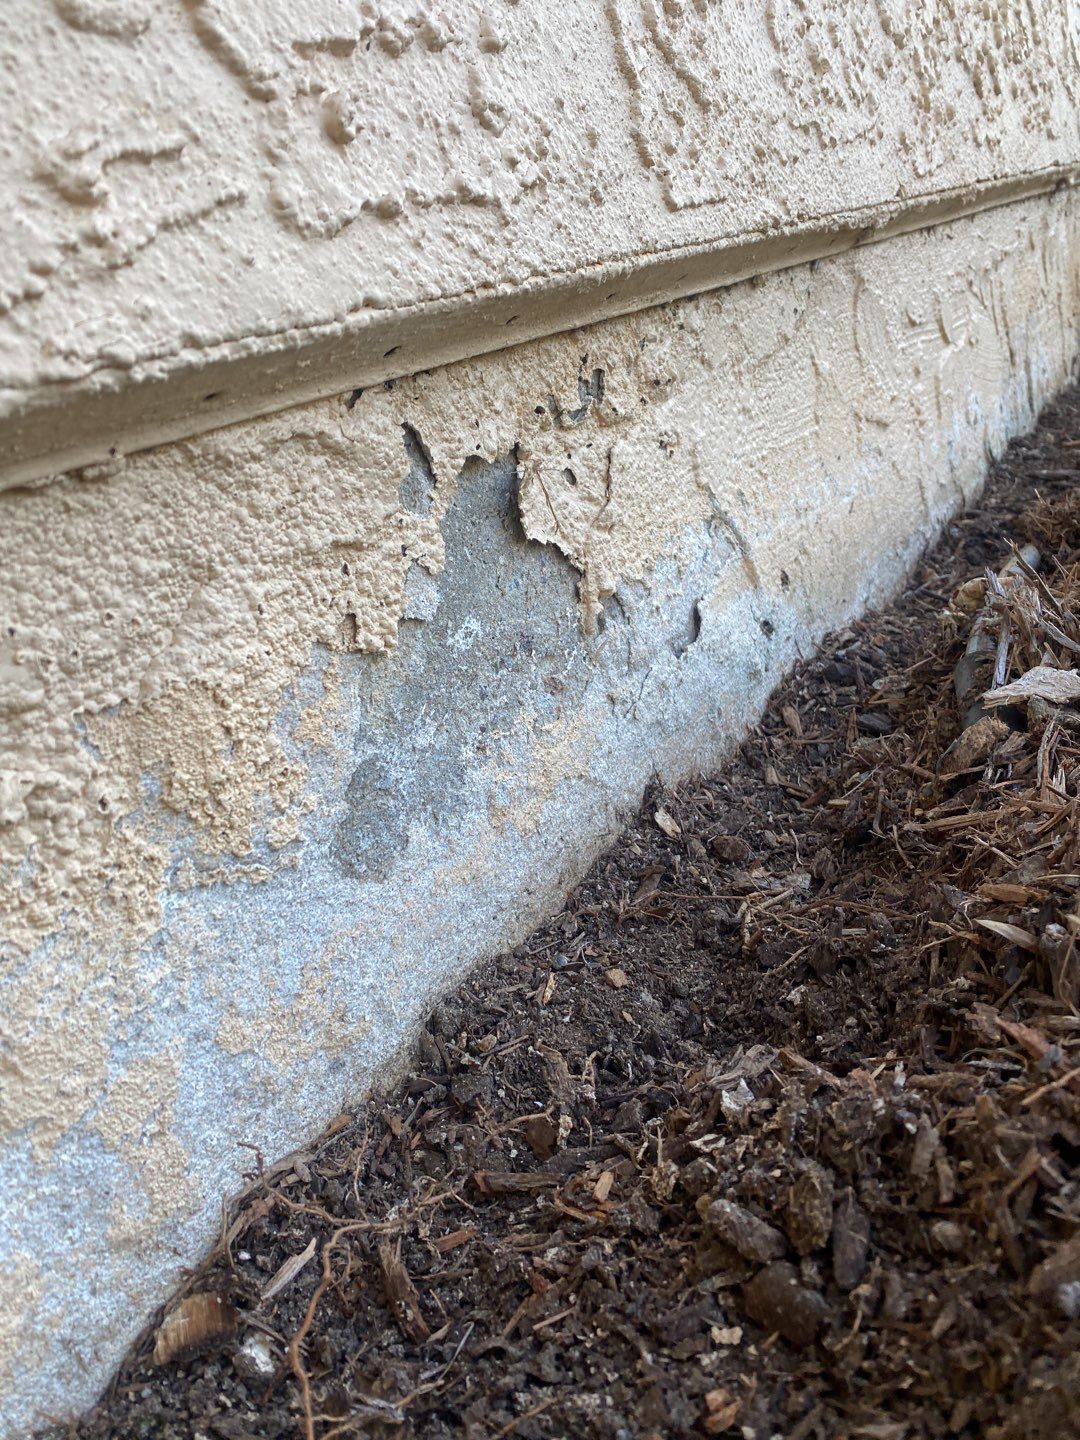
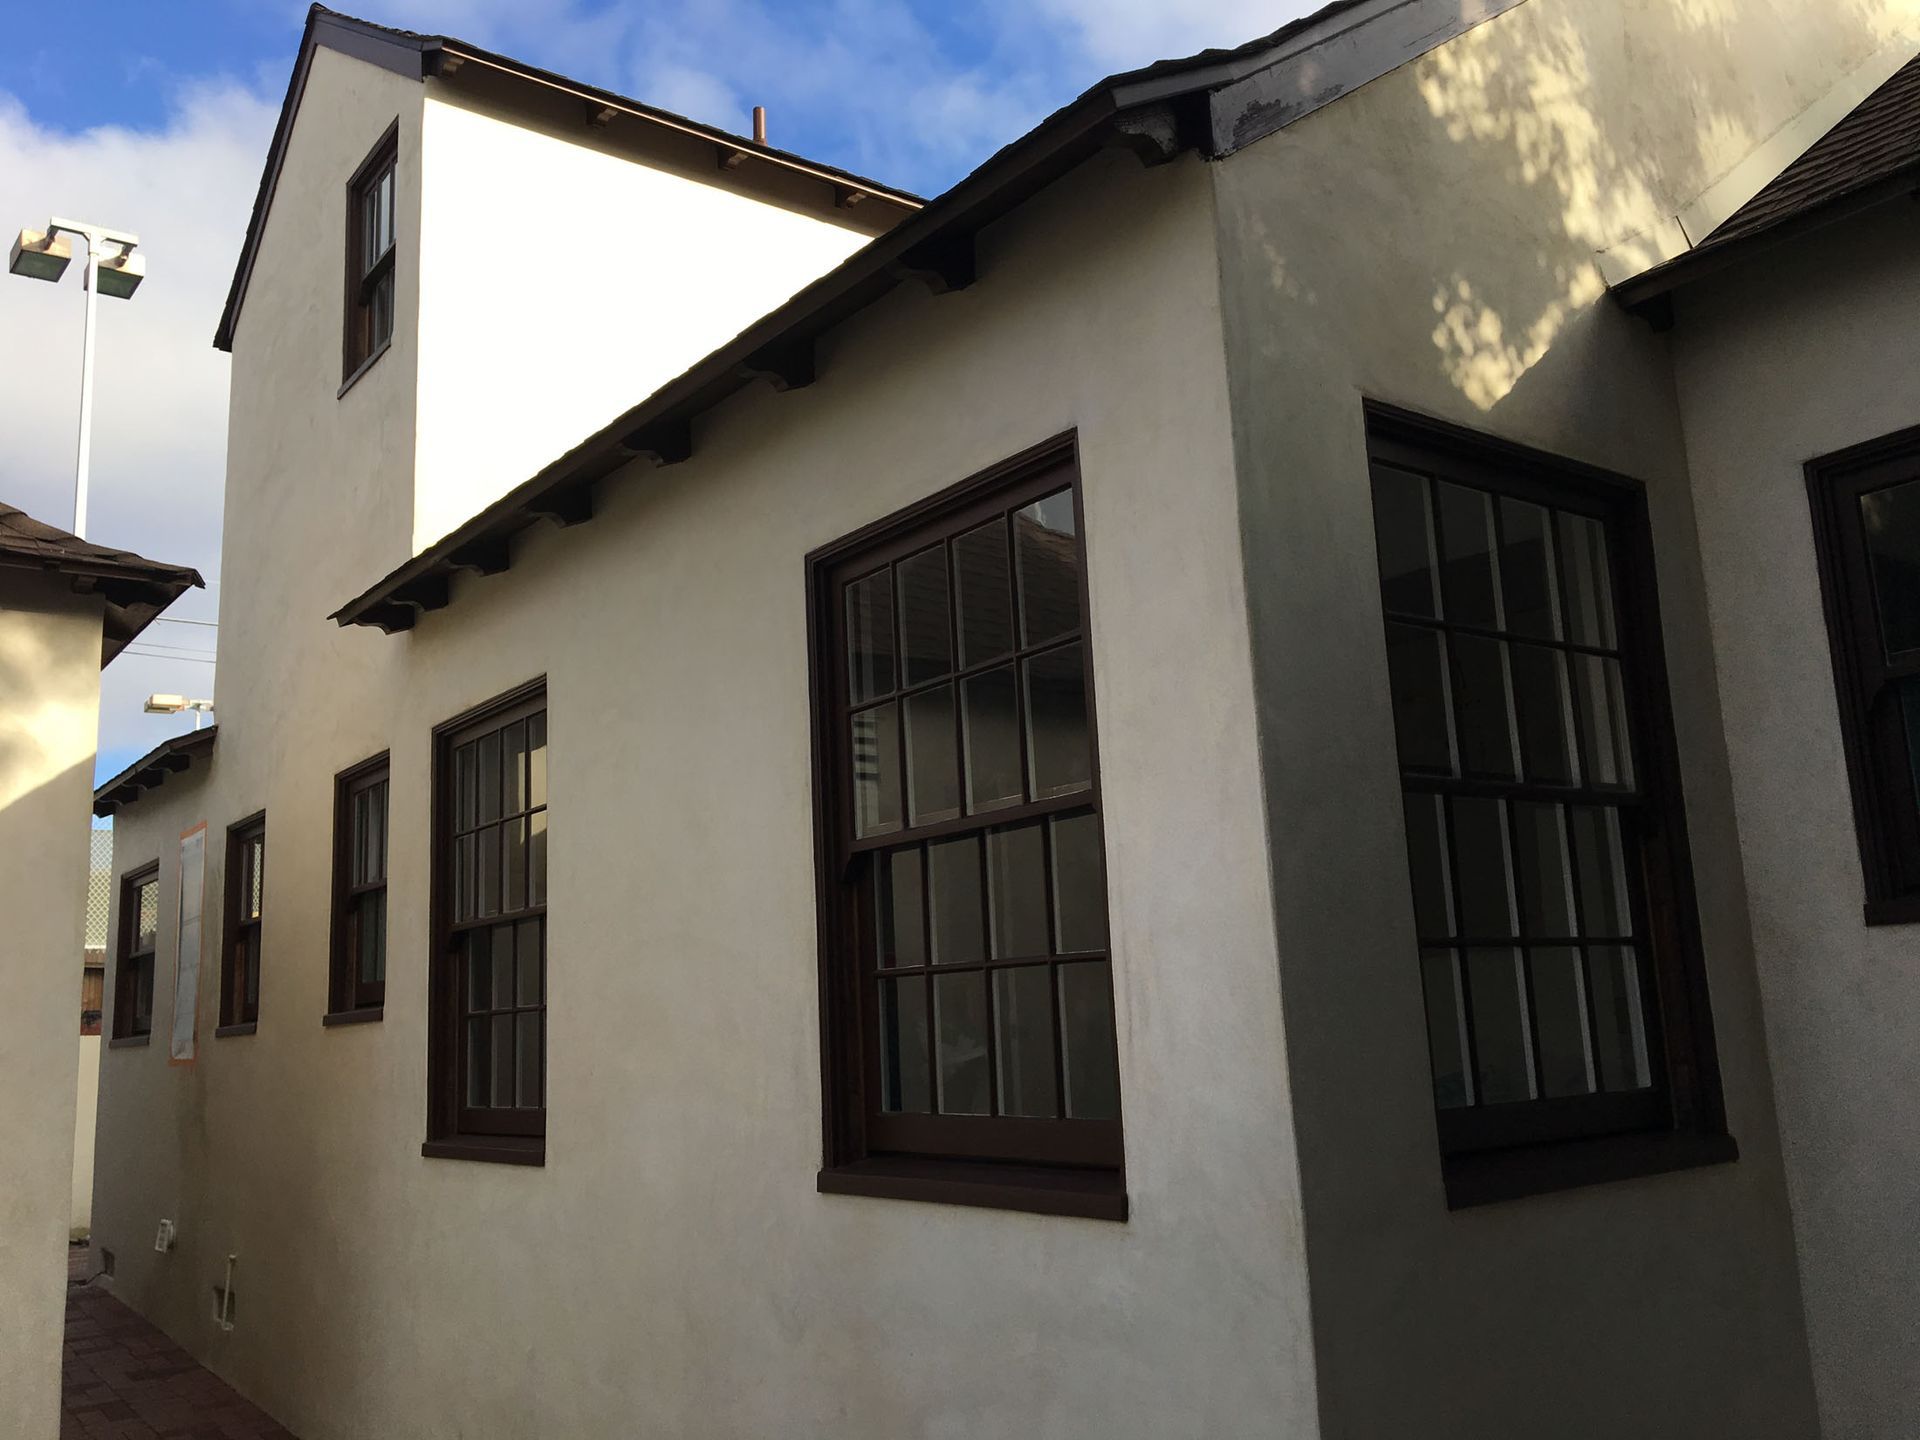
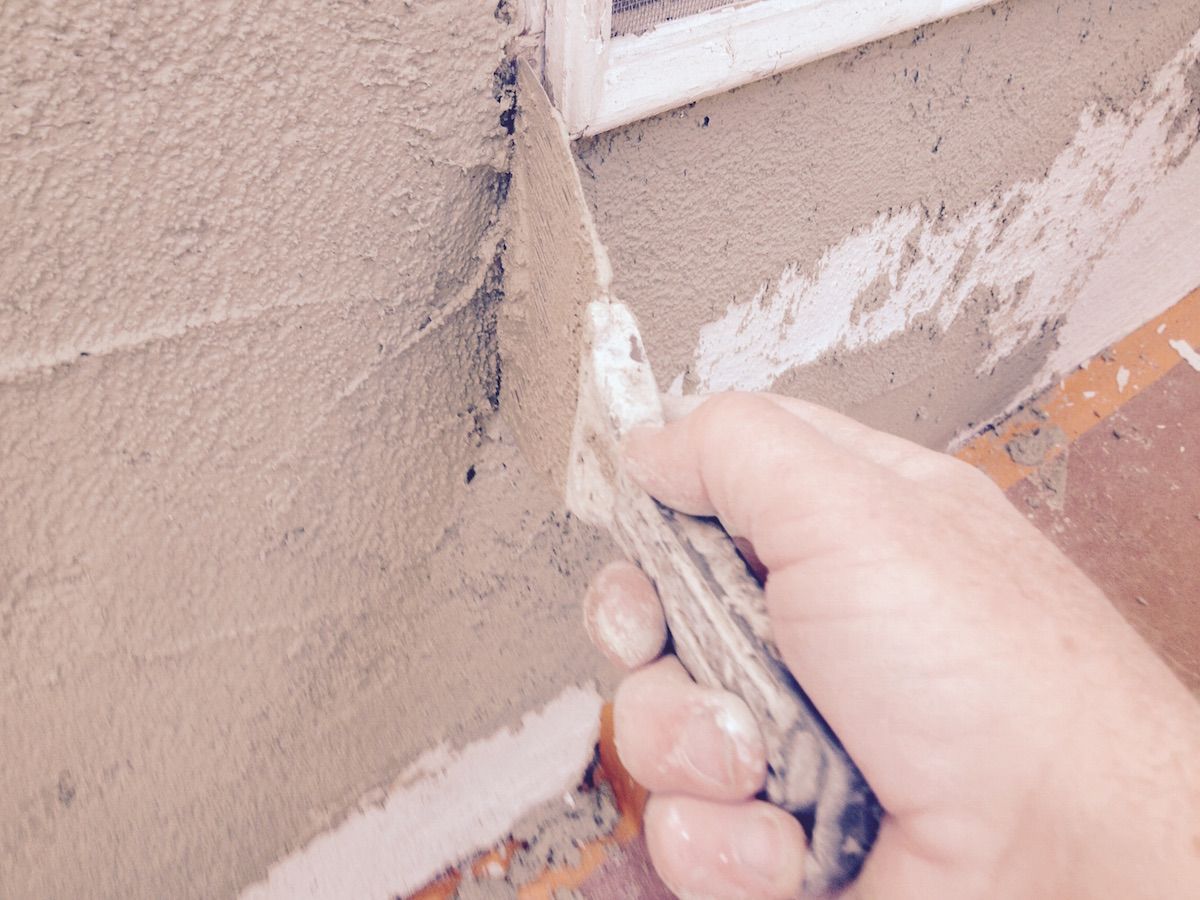
Many El Cajon homes have stucco exteriors, so stucco condition should be checked before painting. Hairline cracks, larger cracks, stains, old patches, crumbling areas, or uneven texture can all affect the final result.
Not every stucco crack means there is a major problem, but cracks should still be evaluated before repainting. Smaller cracks may need prep or patching, while larger or recurring cracks may need more careful repair.
Paint can refresh stucco and improve the home’s appearance, but it should not be used to hide unresolved stucco damage. If the stucco surface is not stable, the new paint may not look as clean or hold up as well.
Repair Deteriorated Wood Before Painting
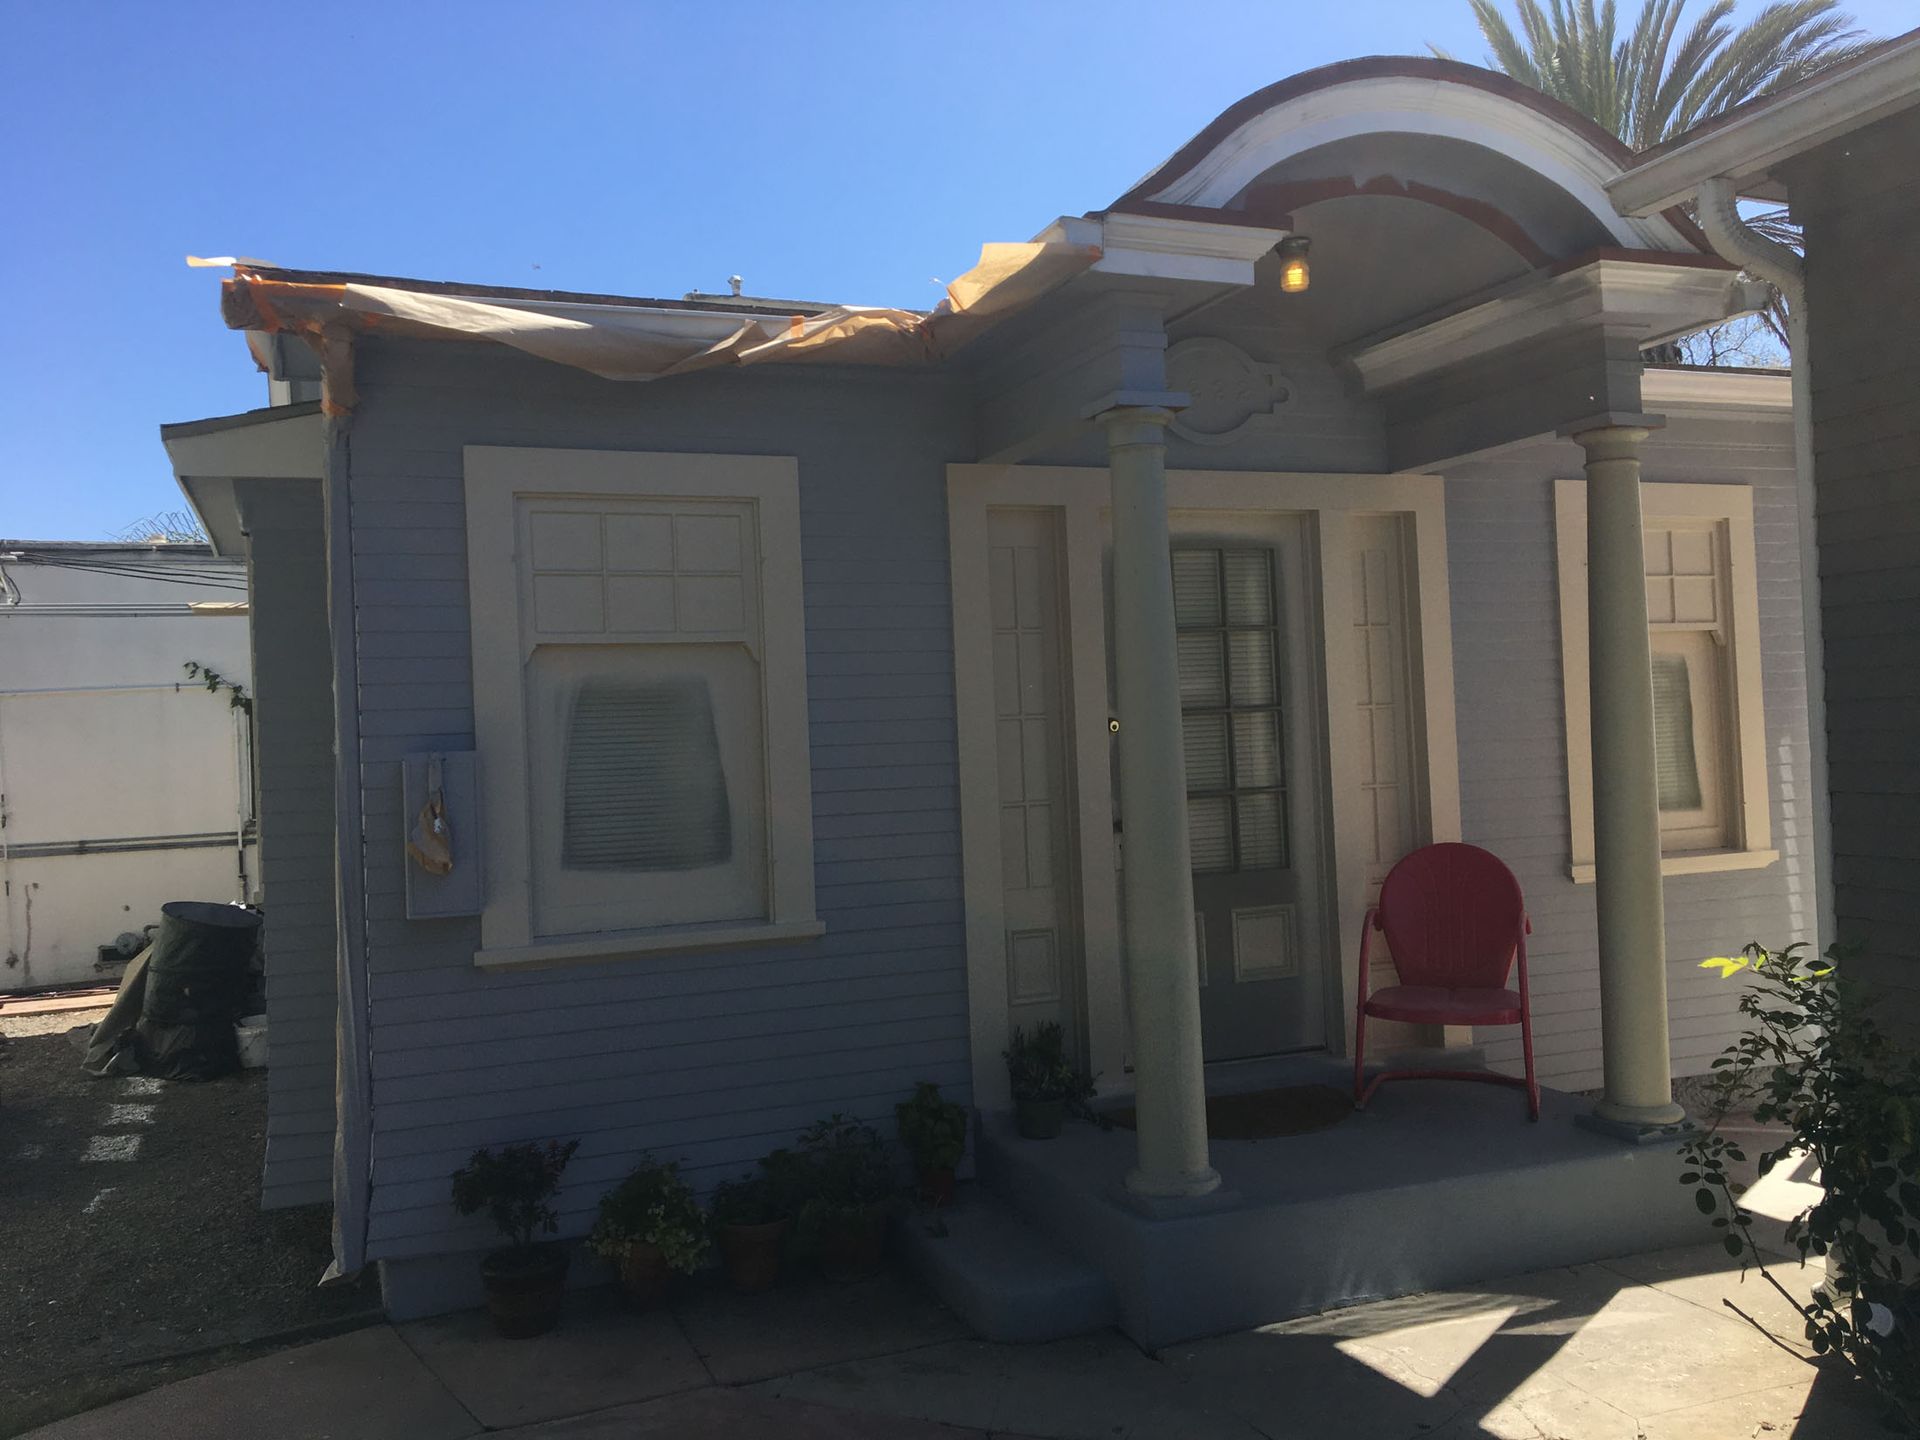
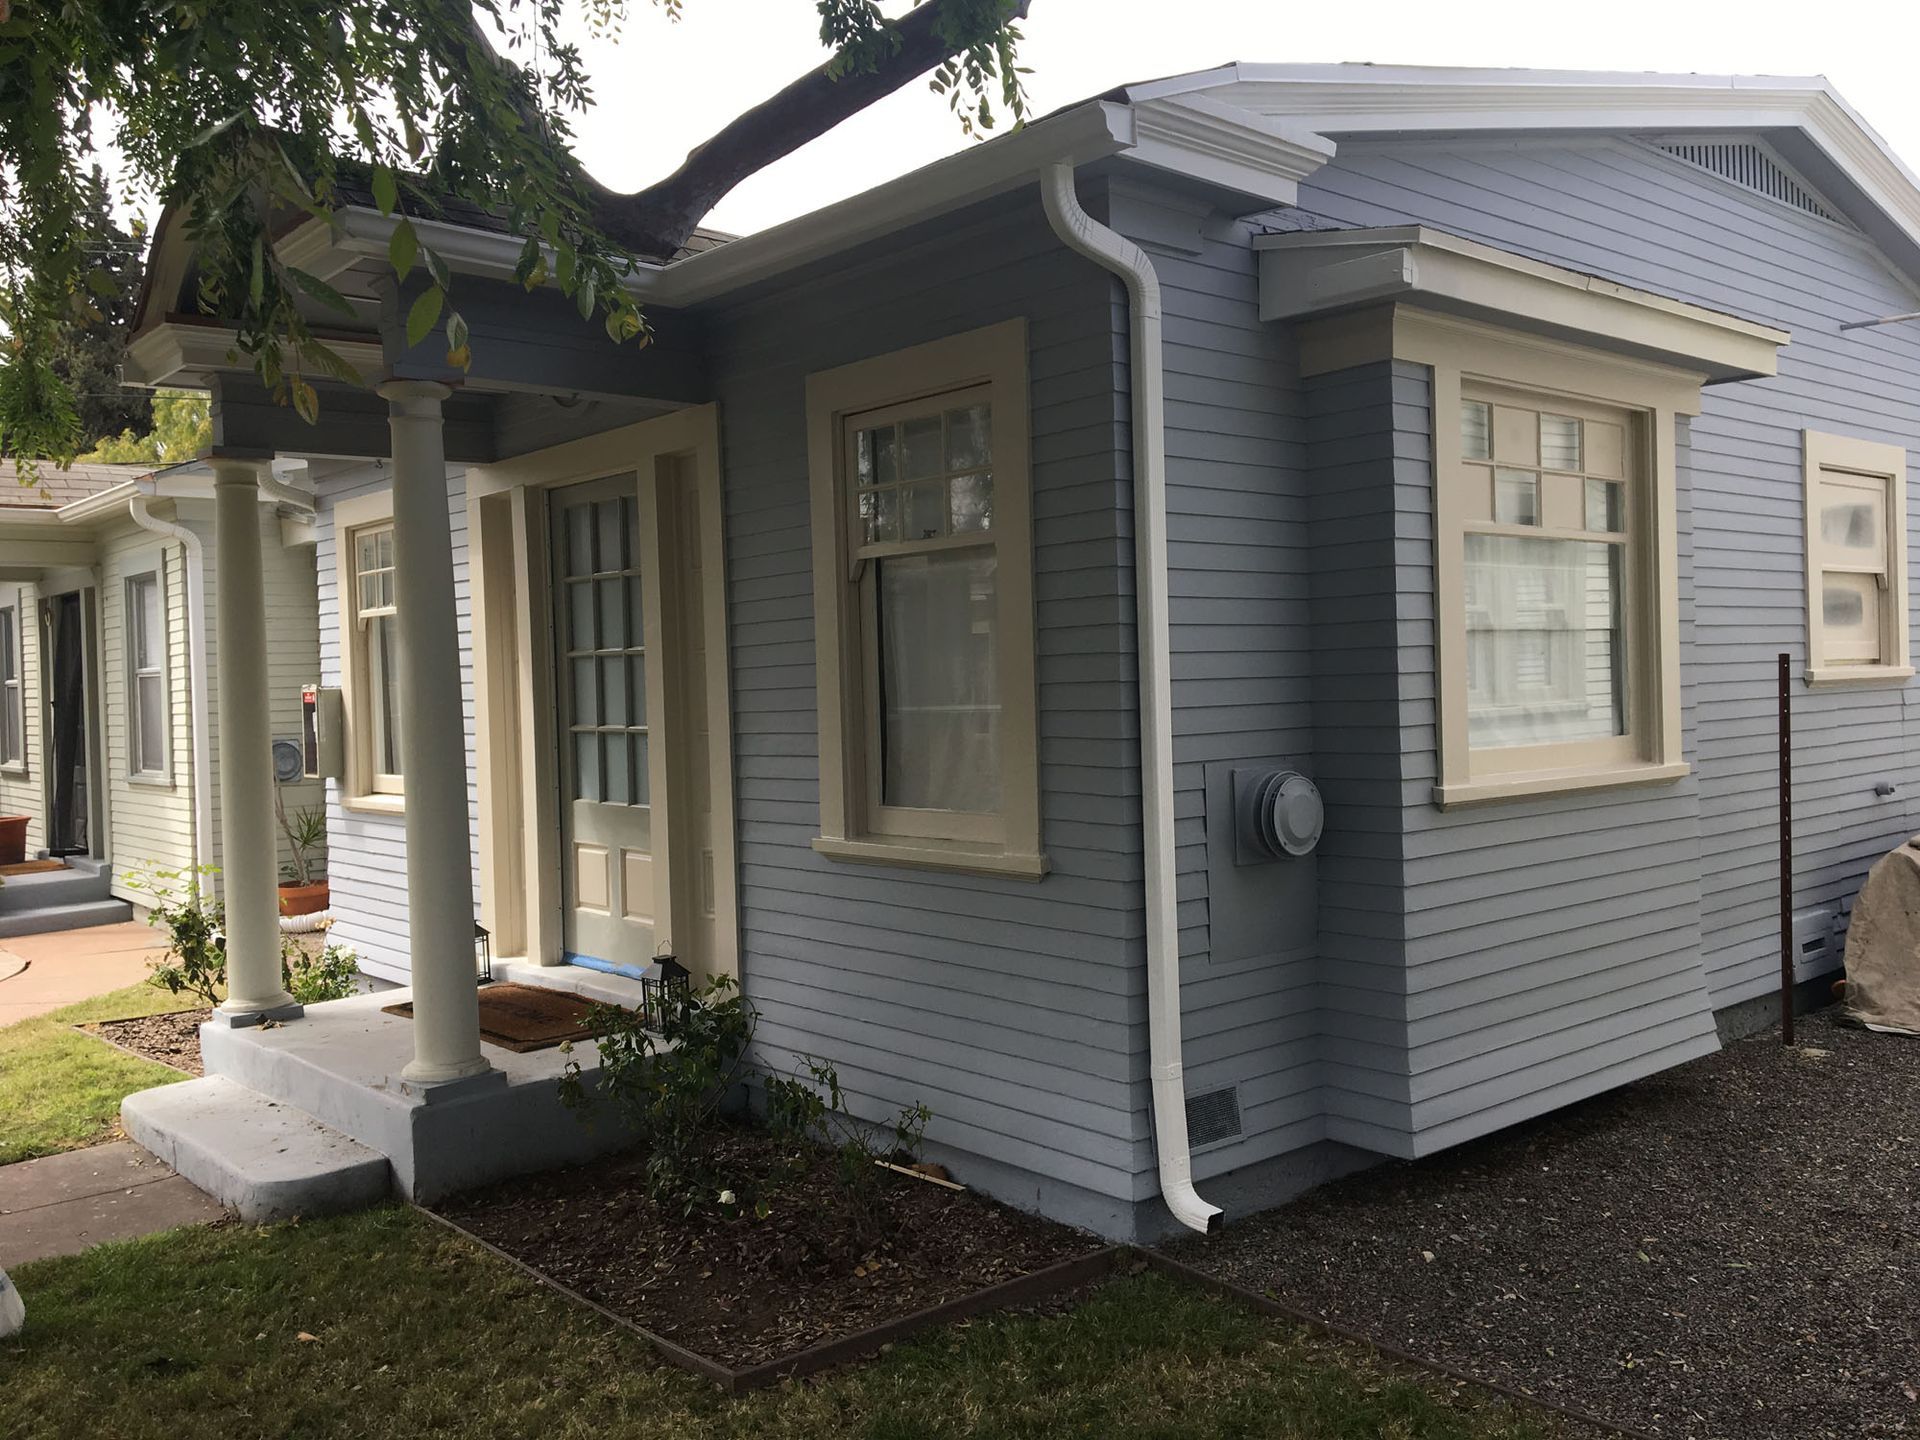
Wood trim, fascia, eaves, doors, window trim, gates, shutters, and porch details should be checked before exterior painting. Wood can dry out, split, peel, soften, or rot if the protective finish has broken down.
Painting over deteriorated wood does not restore it. If the wood is soft, crumbling, badly cracked, or moisture-damaged, it should be repaired or replaced before painting.
If the wood is still solid, it may only need sanding, priming, caulking, and repainting. If it is damaged, repair comes first. This is especially important for trim and fascia because these areas are highly visible and help protect edges, joints, and transitions around the home.
Replace Failed Caulking Around Windows, Doors, and Trim
Caulking helps seal gaps where different exterior materials meet. Failed caulk can show up around windows, doors, trim, fascia joints, siding transitions, and other exterior seams.
Signs of failed caulking include cracking, separation, missing sections, visible gaps, or areas where water can get behind the surface. These issues may seem small, but they can affect how well the exterior is protected.
Painting over bad caulk is not enough. Failed caulk should usually be removed and replaced as part of prep so the joint is sealed before the finish coats go on.
Check Moisture Stains and Recurring Problem Areas
Moisture-related issues should be handled before painting. Stains, bubbling paint, recurring peeling, soft wood, or damp-looking surfaces can suggest that water is getting into or sitting against the exterior.
Possible causes may include irrigation hitting the wall, poor drainage, damaged caulk, roofline runoff, dense landscaping, or previous prep issues. These do not always mean there is a serious problem, but they should not be ignored.
If the same area keeps failing, homeowners should look for the cause before repainting it again. Otherwise, the new paint may break down in the same spot.
Deal With Landscaping and Irrigation Conflicts Early
Landscaping can create problems if plants block access, trap moisture, rub against painted surfaces, or hide damaged areas. Irrigation can also wear down paint or stucco if sprinklers regularly hit the home.
For El Cajon homes, this may be especially relevant around shrubs, trees, vines, planter beds, patios, side yards, and areas close to exterior walls.
Before painting or repairs begin, homeowners may need to:
- Trim plants away from the home
- Remove vines from stucco or trim
- Move potted plants and outdoor items
- Redirect sprinklers away from walls
- Pause irrigation during prep and painting
- Clear access around side yards, doors, and gates
Handling landscaping and irrigation early helps crews reach the surface, complete repairs, and avoid damaging fresh paint later.
Look at Trim, Doors, Gates, and Other High-Use Areas
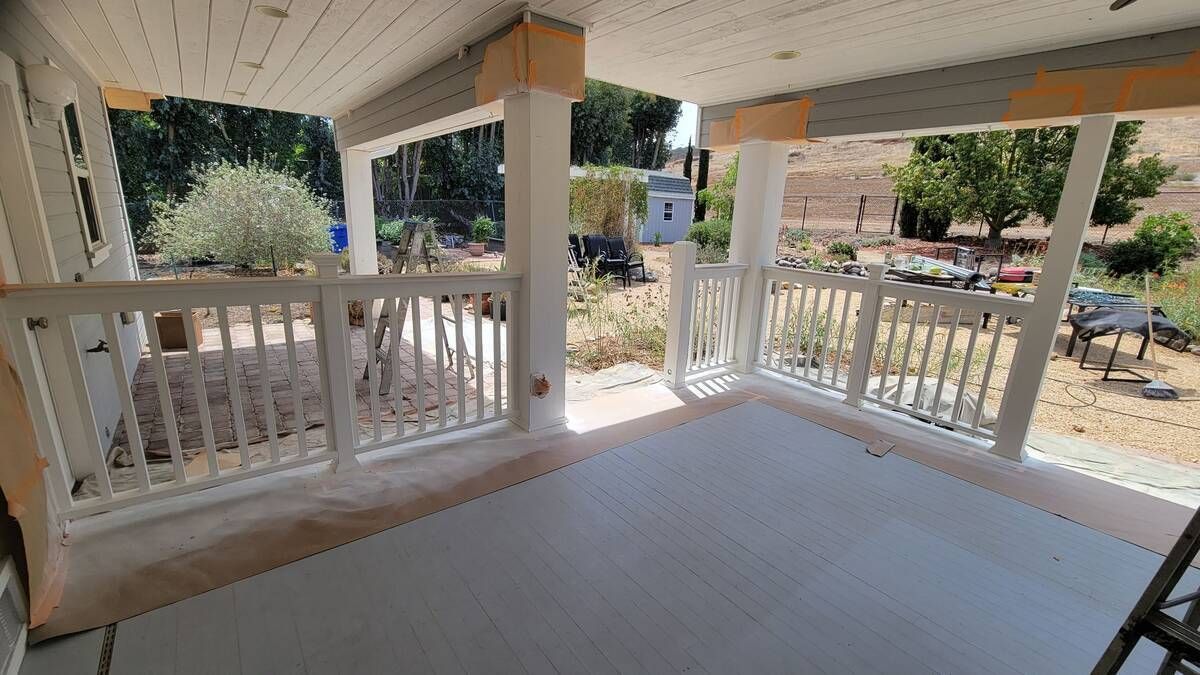
Exterior updates are not only about the main walls. Doors, gates, garage doors, shutters, railings, trim, fascia, and porch details can wear faster because they receive more sun, use, or exposure.
These areas may need sanding, repair, priming, refinishing, or repainting before the project feels complete. If the main exterior is painted but the doors, trim, or gates still look worn, the finished result may feel unfinished.
High-visibility details should be evaluated before deciding the final scope. Sometimes a few worn details can have a bigger effect on the home’s appearance than homeowners expect.
Understand the Difference Between Repair, Prep, and Finish Work
Homeowners often lump everything together as “painting,” but exterior projects usually include different types of work. Understanding the difference can make it easier to compare estimates and plan the project in the right order.
Repair work includes fixing damaged stucco, replacing rotted wood, correcting larger problem areas, or addressing moisture-related damage. Prep work includes washing, scraping, sanding, caulking, priming, masking, and minor surface correction. Finish work is the final painting, coating, staining, or color update.
A lower quote may not include the same repairs or prep as a more complete estimate. Before choosing a painter, homeowners should understand what is included and what would be considered additional repair work.
What Can Usually Wait Until After Painting?
Not every exterior update needs to happen before painting. Some finishing touches can happen afterward as long as they do not scratch, patch, repair, wash, or alter the painted surface.
Examples may include replacing decorative hardware, adding planters, updating outdoor furniture, installing new house numbers, or finishing small landscape details away from the home.
The main idea is simple: anything likely to damage or change the painted surface should usually happen before final painting. Decorative or movable updates can often wait until after the paint has cured.
The Best Order for Exterior Repairs and Painting
The right order can help homeowners avoid repainting areas that were just repaired or repairing areas that were just painted. While every project is different, exterior updates often work best when the messy and corrective work happens before the final finish.
A practical order often looks like this:
- Inspect the exterior surfaces and identify visible damage.
- Trim landscaping and clear access around the home.
- Adjust irrigation away from walls, trim, and stucco.
- Complete stucco repairs, wood repairs, and larger exterior fixes.
- Replace failed caulk around windows, doors, trim, and joints.
- Wash, scrape, sand, prime, and prepare the surfaces.
- Paint exterior walls, trim, doors, fascia, and other included areas.
- Add decorative updates or movable outdoor features after the paint has cured.
This order may shift depending on the home, but the main goal stays the same. Repairs and prep should happen before finish coats so the final paint is not covering up issues that should have been corrected first.
Talk With an El Cajon Painting Company During Planning
Homeowners do not need to identify every repair on their own before calling a painter. A professional painter can inspect the exterior and explain what should be repaired, what can be handled during prep, and what should wait until after painting.
Speaking with an experienced El Cajon painting company can help you understand the right order for stucco repair, trim repair, caulking, landscaping adjustments, and exterior painting.
Chism Brothers Painting can help evaluate stucco, trim, fascia, caulking, wood details, landscaping access, and exterior paint condition before recommending the right order of work.
Plan Your El Cajon Exterior Updates With Chism Brothers Painting
If you are planning exterior painting, stucco work, trim repair, or other updates, Chism Brothers Painting can help evaluate what should happen first. They can review the home’s surface condition, repair needs, access, landscaping, caulking, and prep requirements before creating a painting plan.
Reach out today for a
free, no-obligation estimate. Chism Brothers can give you honest guidance on whether your home is ready for painting, what should be repaired first, and how to avoid covering up problems that may return later.
Tell us about your project
Tell Us About Your Project
Contact us today to schedule a visit from one of our estimators! We’ll come to your home and provide a detailed estimate.
(858) 454-3850