Replacing Windows on an Oceanside Home? Should You Paint Before or After?
Last Updated: August 20, 2026
In most cases, Oceanside homeowners should replace windows before final painting because installation can disturb stucco, drywall, trim, caulking, and surrounding finishes that may need repair or touch-up afterward.
Window replacement and painting often overlap more than homeowners expect. New windows can improve comfort, curb appeal, energy efficiency, and resale appeal, but the installation process can affect both the inside and outside surfaces around each opening.
Painting too early can create extra work later, especially if stucco edges, drywall, casing, trim, or caulking are damaged or replaced during installation. Planning the right order helps the finished home look clean and prevents the same areas from being painted twice.
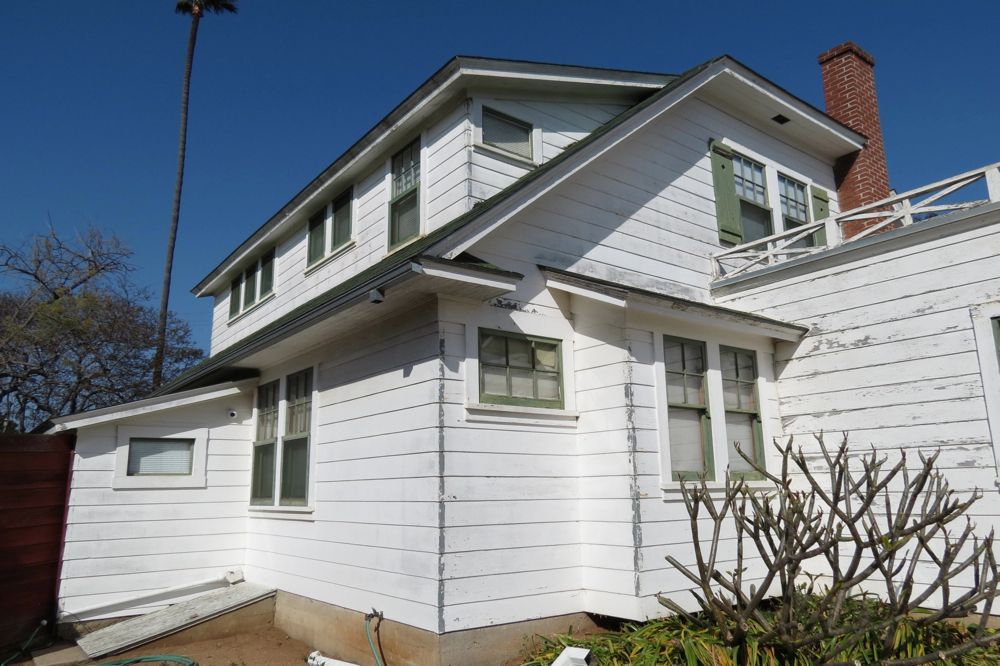
Why Window Replacement Usually Comes Before Painting
Window replacement is more likely to disturb surrounding surfaces than painting is. Even careful installation can involve removing old trim, cutting through caulk, adjusting openings, patching stucco, repairing drywall, or touching up interior casing.
That is why the safest order is usually window work first, repairs and prep second, and final painting last.
This order helps homeowners:
- Avoid painting surfaces that may be cut, patched, or repaired later
- Prevent fresh paint from being scratched or scuffed during installation
- Blend drywall, stucco, trim, and caulk repairs more cleanly
- Coordinate interior and exterior touch-ups at the same time
- Create a cleaner finished look around the new windows
There may be exceptions depending on the project, but final painting is usually safest after the windows are installed and the surrounding surfaces are repaired, sealed, and ready.
What Window Replacement Can Affect Around the Home
Homeowners often think window replacement only involves the window itself, but the surrounding finishes matter too. Installers may need to work around both the interior and exterior sides of the opening, and those areas often need attention before paint goes on.
Exterior Stucco or Siding
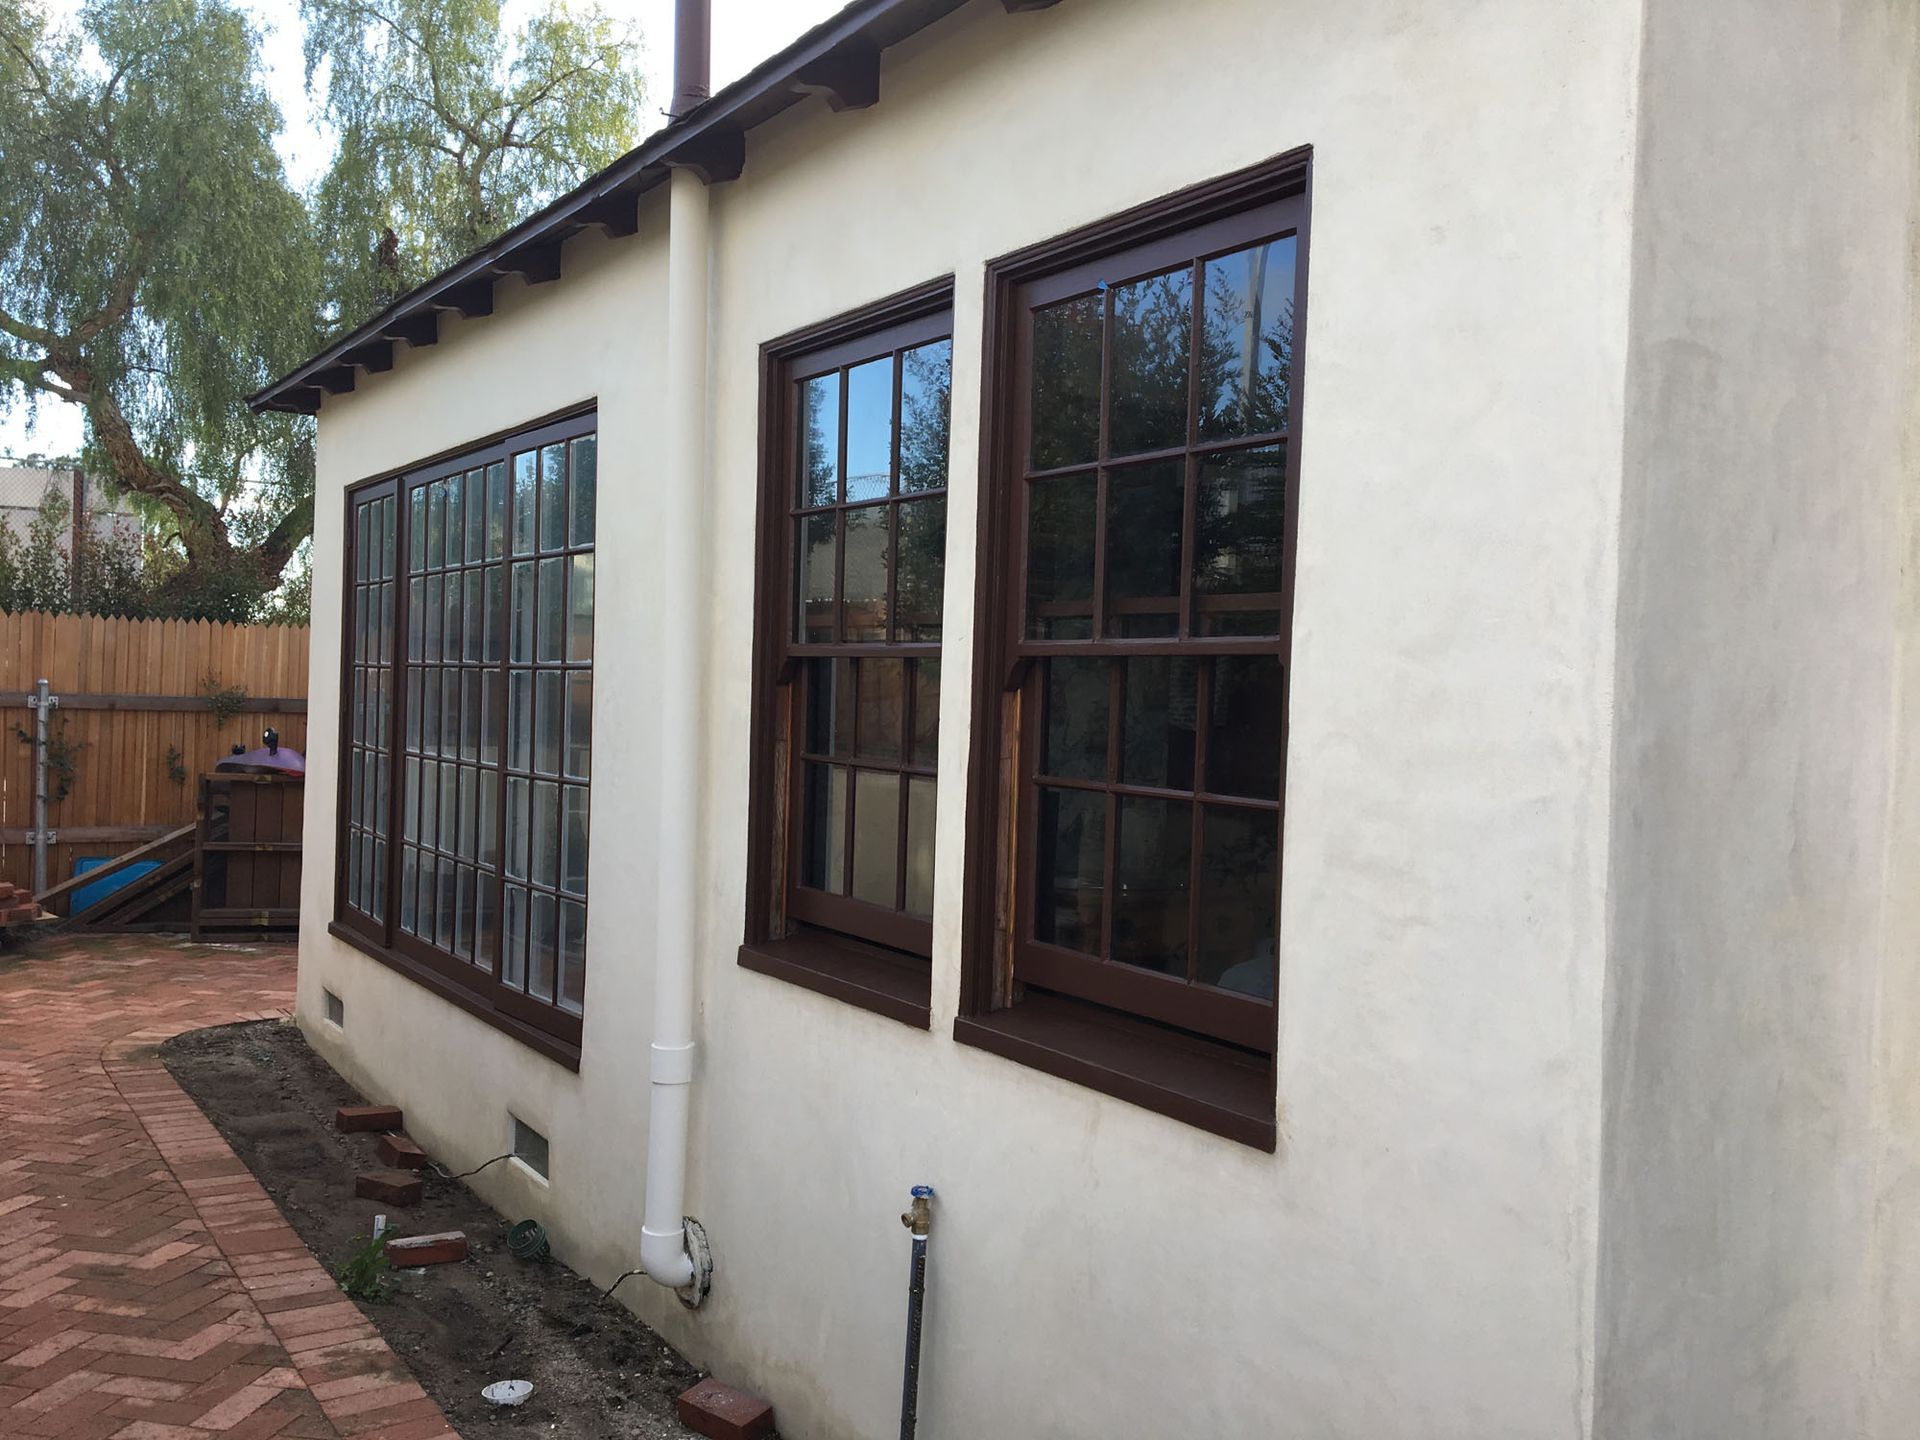
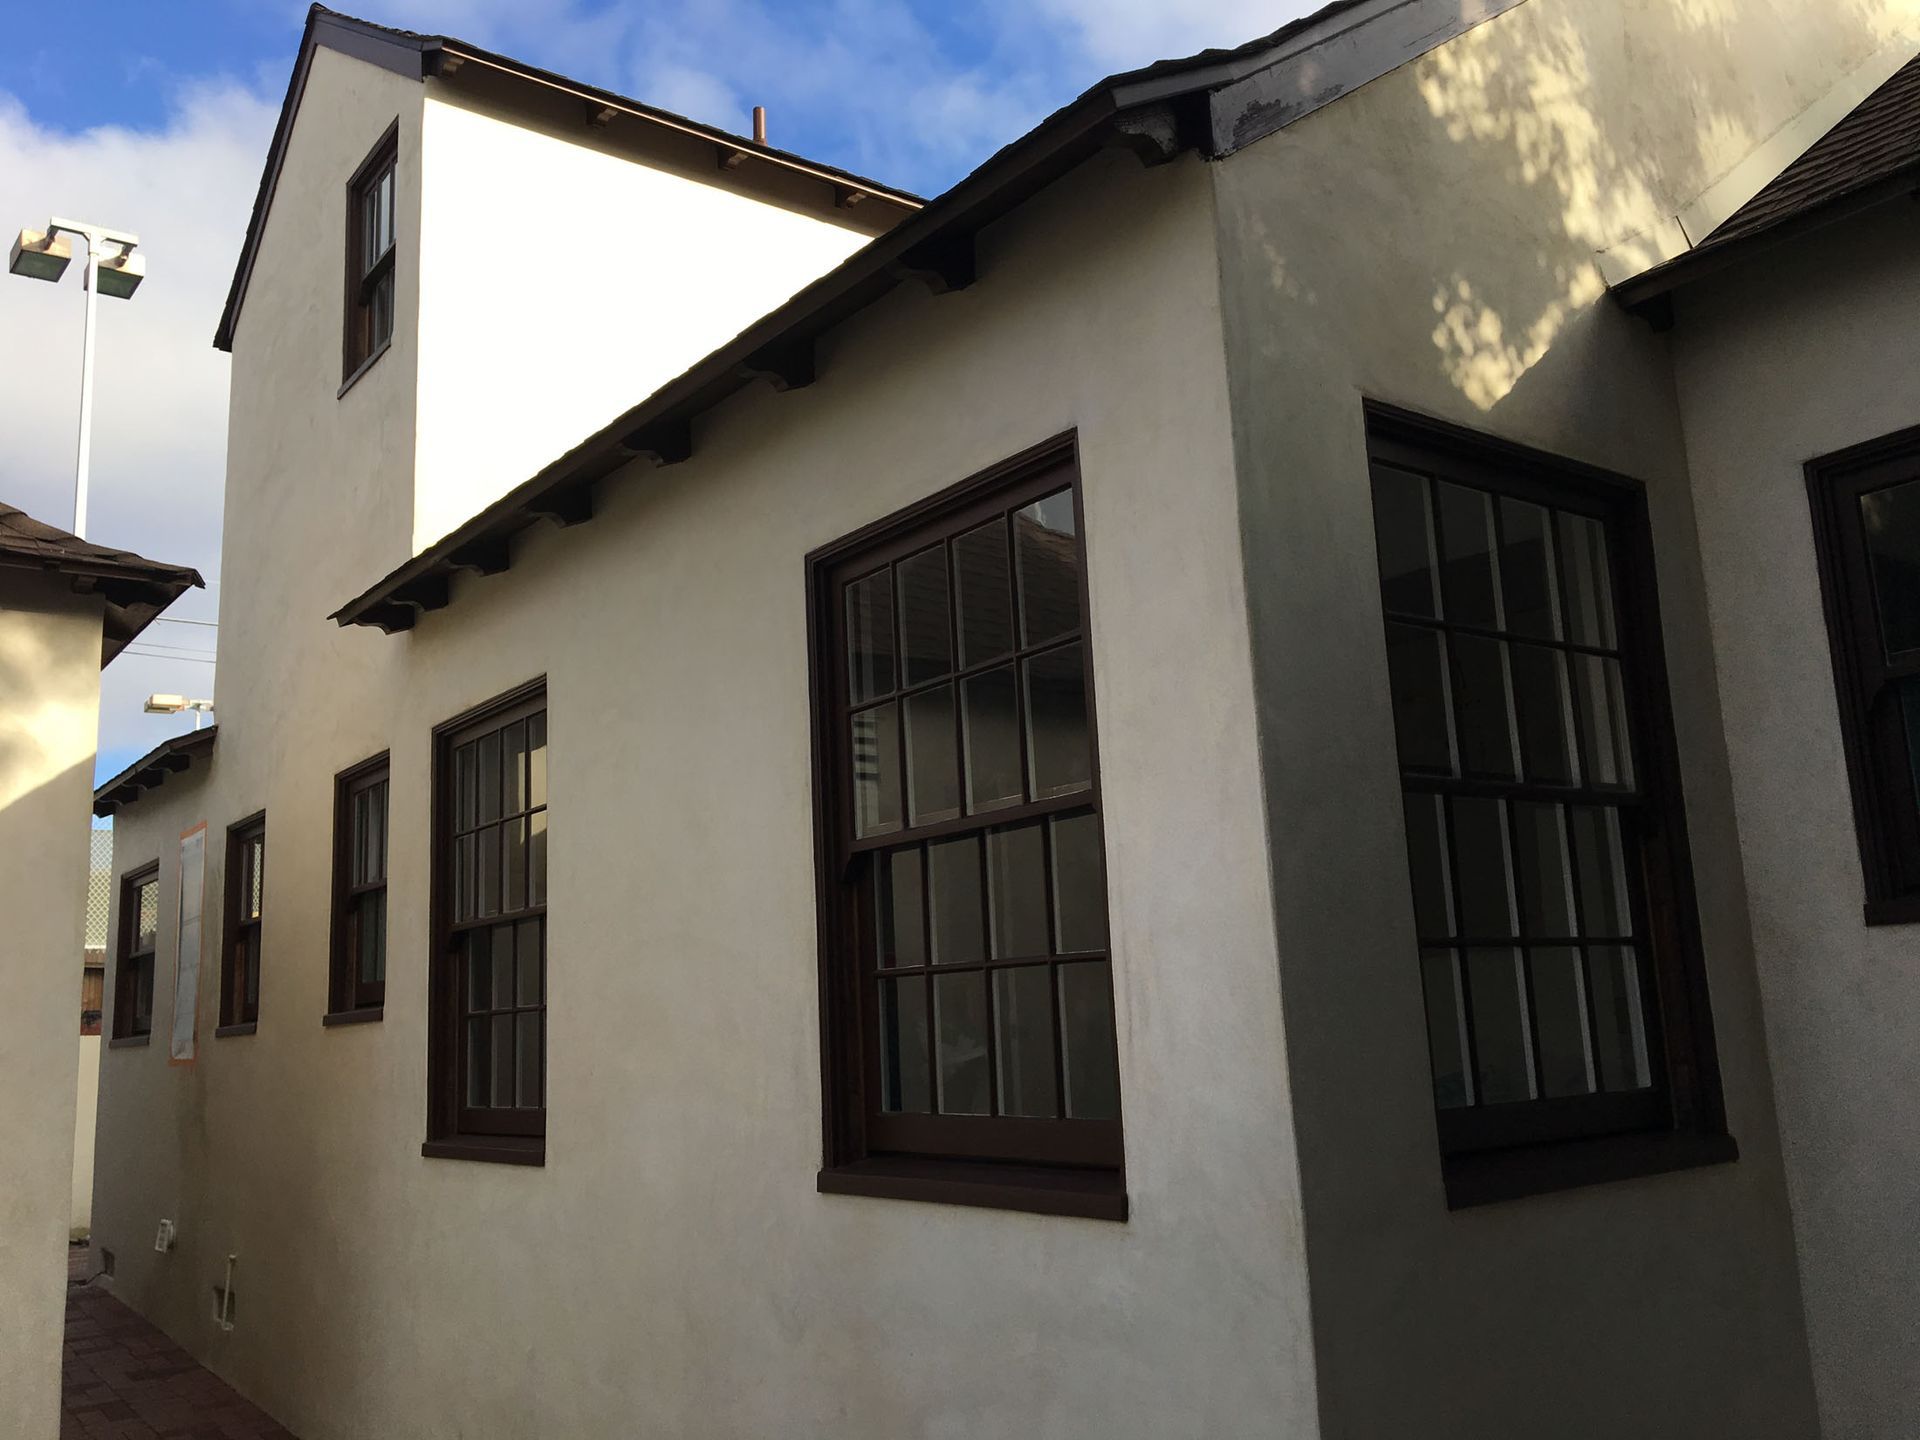
Many Oceanside homes have stucco exteriors, and window replacement can affect the stucco around the opening. Edges may chip, old caulk may need to be removed, and small areas may need patching, texture blending, or repair after the window is installed.
If exterior painting happens before this work is finished, the patched areas around the window may stand out. Painting afterward makes it easier to blend repairs into the surrounding wall or exterior section.
Interior Drywall
Window replacement can also affect the interior wall around the window. Drywall may need patching, sanding, texture matching, or priming after installation, especially if the opening is adjusted or the old window removal causes damage.
Final interior painting should usually wait until drywall repairs are complete, dry, and properly prepped. Otherwise, homeowners may end up repainting the same wall or dealing with obvious touch-up marks around the window.
Trim and Casing
Window trim, casing, sills, and surrounding woodwork may be removed, replaced, repaired, or touched up during a window project. If trim will be changed, painting it before installation usually does not make sense.
New or repaired trim should be filled, sanded, caulked, primed, and painted after installation. That helps the final result look intentional rather than pieced together.
Caulking and Sealing
New windows need proper sealing, and caulk lines around the window should be clean, stable, and finished before painting. Painting before caulking or sealing is complete can lead to uneven lines or areas that need to be redone.
The main point is simple: final paint should usually come after the window opening is fully repaired, sealed, and ready.
When Painting Before Window Replacement Can Backfire
Painting too early can create avoidable cost and frustration. Even if the paint looks great at first, window installation may require work that cuts into the fresh finish.
Common issues include:
- Fresh exterior paint getting scratched or scuffed
- Stucco patches needing repainting
- Interior drywall repairs requiring primer and paint
- Trim being replaced after it was already painted
- Caulk lines needing to be removed and redone
- Paint colors or sheens not matching cleanly after touch-ups
Small touch-ups may still be needed after window replacement, but the goal is to avoid repainting large areas because the project order was wrong. When homeowners wait to paint until after installation, repairs can be blended more cleanly into the surrounding surfaces.
The Best Order for Window Replacement and Painting
A clear project order can help homeowners avoid confusion between window installers, repair work, and painters. While every home is different, this sequence usually works best:
- Decide which windows are being replaced.
- Confirm whether trim, casing, stucco, or drywall will be affected.
- Complete the window replacement.
- Repair stucco, drywall, trim, or woodwork around the openings.
- Caulk and seal the surrounding areas properly.
- Prime repaired or bare surfaces.
- Paint the affected interior and exterior areas.
- Complete final touch-ups after everything has cured and settled.
This order helps the finish look planned instead of patched together. It also makes it easier to blend repairs into the surrounding wall, trim, or exterior surface.
What If You Are Only Painting Part of the Home?
Homeowners are not always repainting the whole interior or exterior. You may only be painting one room, one side of the house, the trim, or the window surrounds.
Partial painting can still work, but color and sheen matching may be more difficult. Existing paint can fade over time, especially on sun-exposed exterior walls or older interior surfaces. Even if you have the original paint color, a small touch-up around a window may not blend perfectly.
In some cases, repainting a full wall, full trim section, or full exterior elevation may look cleaner than trying to spot-paint only the repaired area. Natural stopping points usually create a better result than tiny touch-ups around each window.
Oceanside Homes May Need Extra Attention Around Windows
Oceanside homes can experience coastal moisture, marine layer, salt air, and sun exposure. These conditions can affect exterior paint, stucco, trim, and caulking around window openings, especially if the previous finish is already worn.
Window openings are important because they are one of the places where sealing and water protection matter most. If old caulk is failing, stucco is cracked, or trim is deteriorated, those issues should be addressed before painting.
This does not mean every Oceanside home has serious exterior damage. It simply means the areas around new windows should be inspected carefully before finish work begins so the paint is applied over clean, dry, stable surfaces.
Coordinate Painting With Other Home Projects
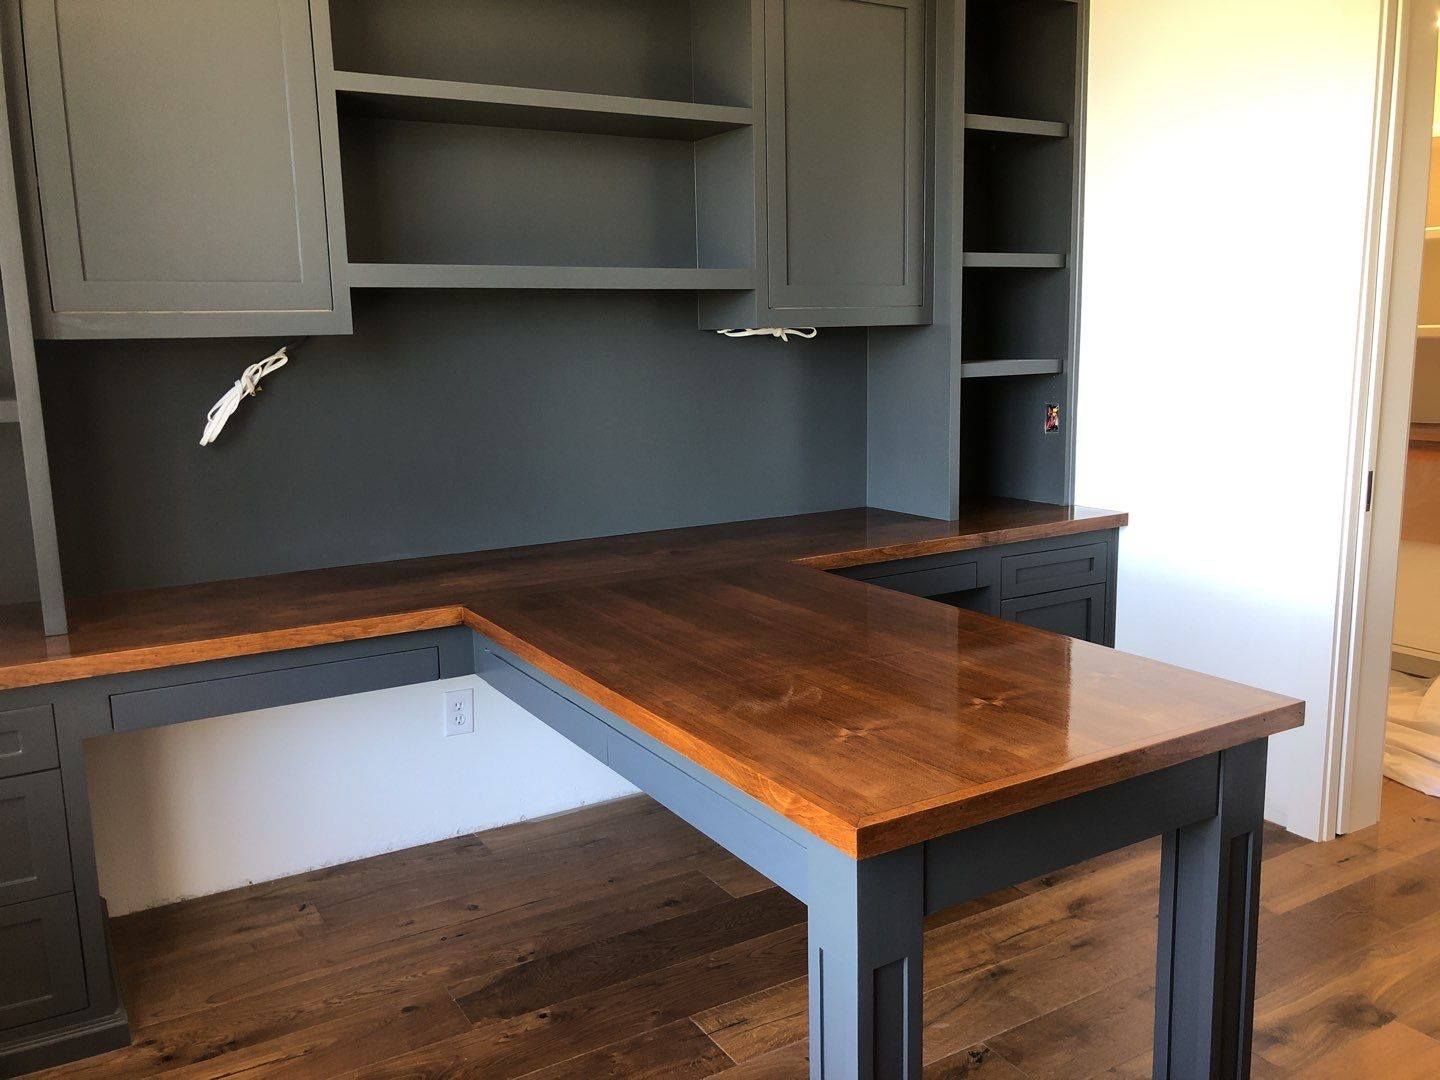
Window replacement may be part of a larger home update. If homeowners are also planning flooring, drywall repairs, cabinet updates, exterior repairs, trim replacement, or landscaping changes, those projects may affect the painting schedule too.
A simple rule is that messy work, repairs, and installation usually come before final paint. Painting is often one of the last steps because it creates the finished look after other trades have completed their work.
If several projects are happening at once, confirm the order before scheduling painters. This helps prevent fresh paint from being damaged by later repairs, dust, trim changes, or installation work.
Talk With an Oceanside Painting Company During Planning
Homeowners do not need to wait until after window replacement to talk with a painter. In many cases, it helps to bring a painter in early so they can explain what areas will likely need repainting, which repairs may affect the final finish, and whether a full wall, trim section, or exterior elevation should be painted for the cleanest result.
Speaking with an experienced Oceanside painting company can help you coordinate painting with window replacement, stucco repairs, drywall touch-ups, trim work, and exterior prep so the project happens in the right order.
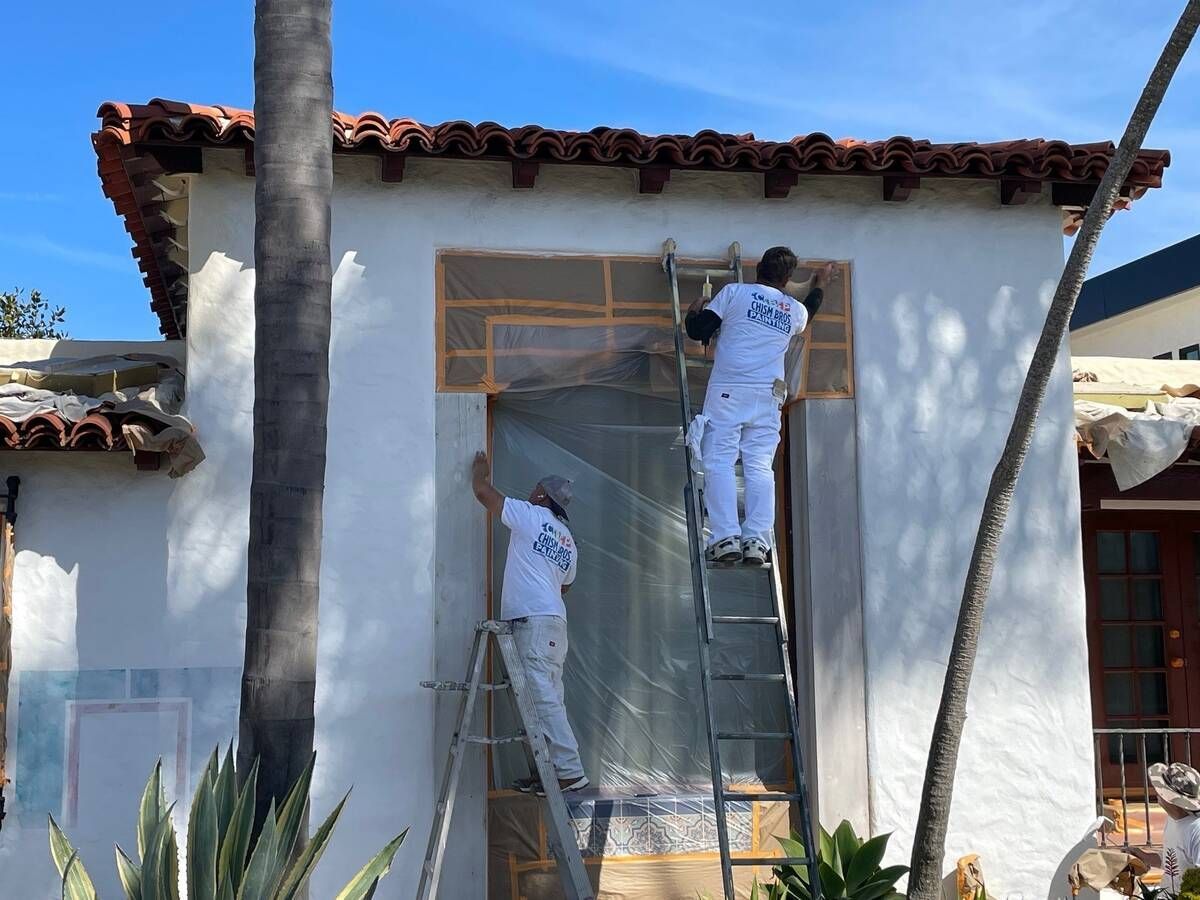
Chism Brothers Painting can help homeowners understand whether painting should happen right away, after installation, or after other repairs are complete.
Plan Your Oceanside Window and Painting Project With Chism Brothers Painting
If you are replacing windows and planning to paint, Chism Brothers Painting can help evaluate the surrounding surfaces and recommend the best painting schedule. They can review stucco, trim, drywall, caulking, exterior condition, and touch-up needs so the finished work looks clean and consistent.
Reach out today for a
free, no-obligation estimate. Chism Brothers can give you honest guidance on whether your home is ready for painting, what should happen after window installation, and how to avoid repainting areas that may still need repair.


Tell us about your project
Tell Us About Your Project
Contact us today to schedule a visit from one of our estimators! We’ll come to your home and provide a detailed estimate.
(858) 454-3850